Payroll System Setup Guide
Complete payroll configuration for Malaysian companies with automatic EPF, SOCSO, EIS, and tax calculations
About BMO Payroll System
BMO Payroll is a comprehensive payroll solution designed specifically for Malaysian businesses. It automates salary calculations, statutory deductions, and generates all necessary reports for compliance with Malaysian regulations.
Why Choose Assisted Setup?
While self-registration is available, we recommend our assisted setup service for:
- Personalized Configuration: Tailored setup based on your company structure
- Compliance Assurance: Ensure all statutory requirements are properly configured
- Training & Support: Dedicated training for your HR team
- Data Migration: Assistance with importing existing employee data
- Priority Support: Dedicated support channel for 90 days
Quick Tip
Have your company registration number, EPF and SOCSO employer numbers ready before starting setup.
Setup Process
1 Account Registration
Register on our website using a valid company email address to create your administrator account.
Important: Use an official company email for verification and security purposes.
2 Account Activation
Contact our support team to activate your payroll module. This step verifies your business legitimacy.
Activation Hotline: 1-300-88-8888
Email: activation@bizcloud.my
3 Initial Configuration
Log in to the BMO Cloud portal and complete your company profile setup including:
- Company details and address
- Bank account information for salary payments
- Payroll schedule and payment dates
- Default leave and attendance policies
4 Employee Data Import
Import your employee list via CSV file or add employees manually. Required information includes:
- Full name and NRIC
- Employment details (date joined, position, department)
- Bank account for salary crediting
- EPF and SOCSO membership details
5 Income & Deductions Setup
Configure all income types and deduction categories relevant to your payroll structure:
- Basic salary, allowances, bonuses
- EPF, SOCSO, EIS contributions
- PCB tax deductions
- Other deductions (loans, advances, etc.)
6 Payroll Processing Cycle
Monthly payroll processing involves these steps:
- Download income template and enter monthly data
- Import income data and validate calculations
- Download payroll auto-calculation template
- Review and adjust calculations if needed
- Import finalized payroll data
- Generate payslips and statutory reports
Time-saving tip: Set up recurring income items to automatically apply each month.
Key Payroll Features
Statutory Compliance
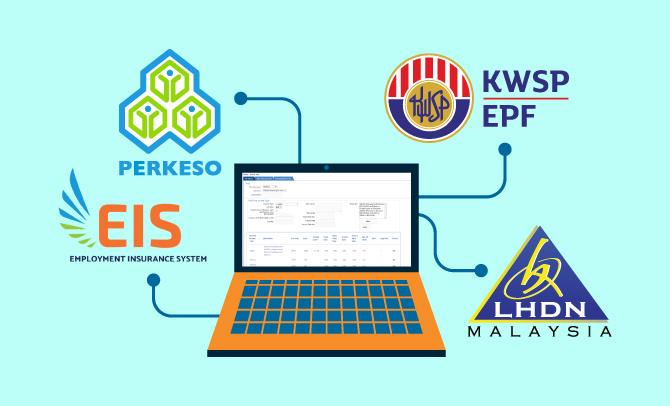
Automatic calculation of EPF, SOCSO, EIS, and PCB with latest rates and regulations.
Report Generation
Generate Form E, Form CP8D, SOCSO statements, and custom reports with one click.
Employee Self-Service
Employees can view payslips, apply leave, and update personal details via mobile app.